Application Areas
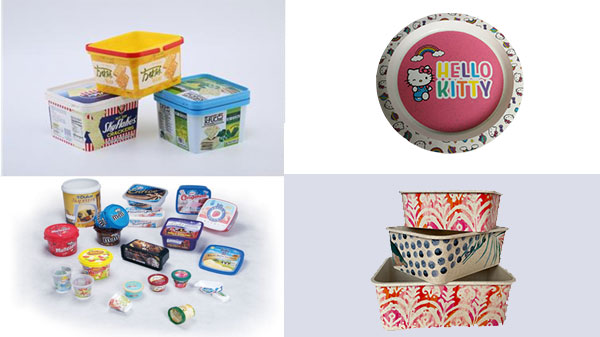
Household Area Label
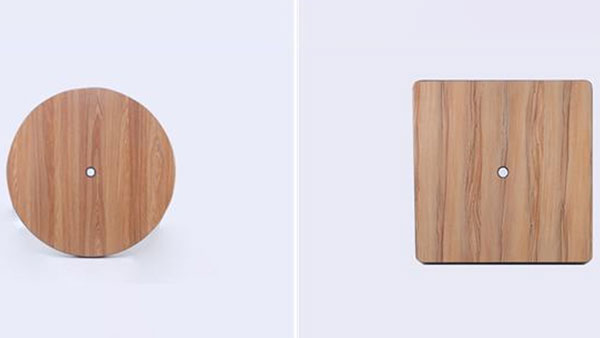
Chemical Pail Area Label
Food Package Area Label
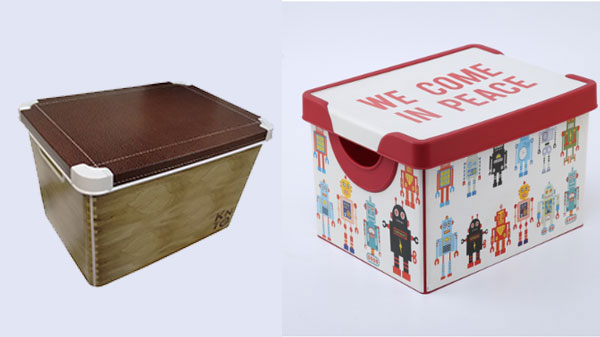
Outside Funiture Area Label
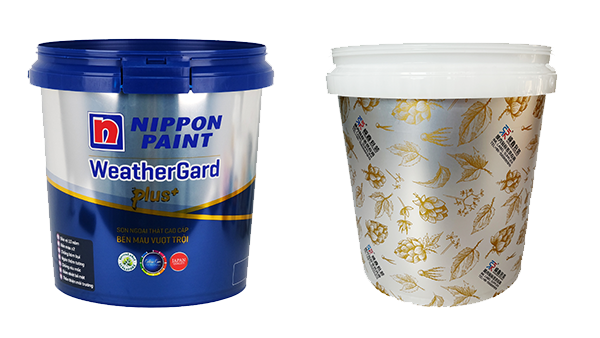
What's The Difference Between Injection Molding And Blow Molding?
Injection Molding
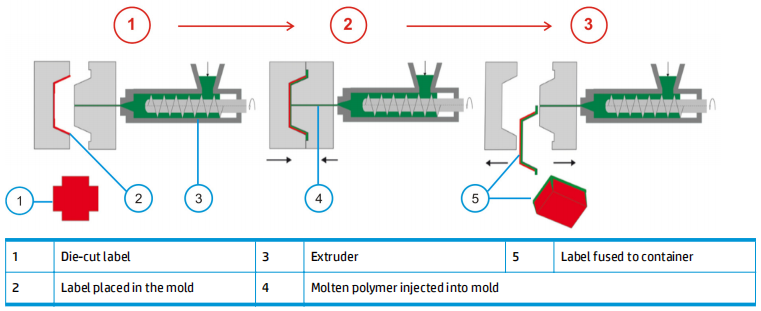
The injection molding process consists in injecting a heated and molten plastic polymer into a steel mold. The printed label is placed beforehand inside the same mold. When the label meets the molten polymer inside the mold, they fuse together. The mass then cools off and solidifies into the shape of the mold with the label fused to the container/part wall. Melting and injection temperatures of the plastic are in the range of 200 – 250 °C (depending on the type of plastic). For fast cooling of the material, the steel mold is usually chilled, and thus, the real temperature encountered by the label inside the mold is somewhat lower. The whole process is usually automated and lasts up to 5 seconds per injection. The injection molding process comprises the following steps (also indicated by the red balloons in the diagram below):
1. The charged die-cut label is placed in the mold.
2. The mold closes; molten polymer is injected from the extruder into the mold; the label fuses with the
plastic.
3. The plastic cools down; the mold opens and the container/cup is ready together with the fused label.
Figure 3-7 Injection molding process
Blow Molding
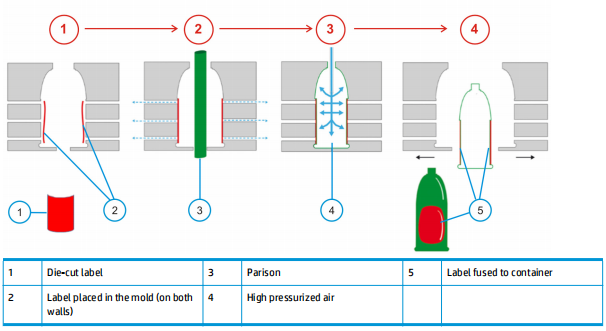
Blow molding is a technique used for the production of hollow plastic parts such as bottles. The label is placed inside the steel mold beforehand. Then the pre-extruded hot plastic material (called “parison”) is introduced, and the two-parts mold closes on it. With heated and high pressurized air (“blowing”) the plastic is stretched into the shape of the mold, and is fused together with the label placed at the mold’s walls. The process temperature of the molten plastic is a bit lower than in the injection molding process, being in the range of 180 – 200 °C (depending on the type of plastic; there are some special grade films that can be blow-molded at very low temperatures of 120-130 °C). For fast cooling of the material, the steel mold is usually chilled, and thus, the real temperature encountered by the label inside the mold is somewhat lower. The whole process is usually automated and lasts up to 10 seconds per part (depending on the size).
The blow molding process comprises the following steps (also indicated by the red balloons in the diagram below):
1. The die-cut label is placed in the two-parts mold, on both walls.
2. Vacuum suction holds the label in place; the parison is introduced between the two open mold parts.
3. The mold closes; heated high pressurized air is blown inside the parison, expanding it towards the mold
walls until it acquires the shape of the mold; the label fuses with the plastic.
4. The plastic cools down; the mold opens and the bottle is ready together with the fused label.
Figure 3-8 Blow molding process
